A well-arranged first aid kit can make a critical difference during an emergency. It saves time, reduces panic, and ensures you find exactly what you need—when seconds matter. Whether you’re preparing a kit for home, travel, office, or car, this guide will show you what to include, how to organize it, and smart tips to keep it effective.
Why Proper Arrangement Matters
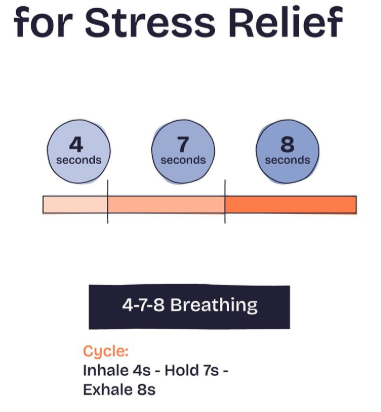
- Emergencies are stressful—clarity beats clutter
- Faster access = better outcomes
- Prevents expired or missing items
- Makes it usable even by someone unfamiliar with the kit
Step 1: Choose the Right Container
4
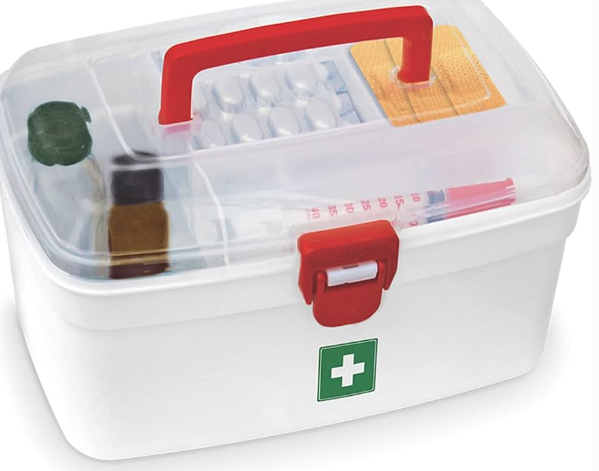
Pick a container that is:
- Sturdy & waterproof
- Portable (handle or strap)
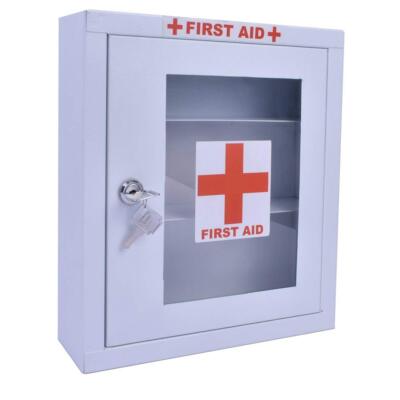
- Clearly labeled with a red cross or “FIRST AID”
- Compartmentalized (multiple pockets or trays)
Tip: Transparent boxes or mesh pockets help you spot items instantly.
Step 2: Group Items by Category
Instead of tossing everything together, group items by use. This is the single most important organizing principle.

Core Categories to Create
- Wound Care
- Medicines
- Tools & Instruments
- Emergency & Protection
- Personal / Special Needs
Use small pouches, zip-lock bags, or color-coded sections.
Step 3: Arrange Items by Priority (Top to Bottom)

Top Layer (Most Used / Urgent)
- Adhesive bandages
- Antiseptic wipes
- Cotton & gauze
- Gloves
Middle Layer (Occasional Use)
- Pain relief tablets
- Antihistamines
- ORS packets
- Burn ointment
Bottom Layer (Emergency & Tools)
- Scissors
- Tweezers
- Thermometer
- Elastic bandage
Rule: The faster you need it, the closer it should be to the top.
Step 4: Essential Items Checklist (Well-Arranged)
Wound Care
- Adhesive bandages (multiple sizes)
- Sterile gauze pads
- Roller bandage
- Antiseptic liquid or wipes
- Medical tape
Medicines
- Pain relievers
- Fever medication
- Anti-diarrheal tablets
- Antacids
- Allergy relief tablets
- Oral rehydration salts (ORS)
Tools
- Scissors
- Tweezers
- Digital thermometer
- Safety pins
Emergency & Protection
- Disposable gloves
- Face mask
- CPR face shield
- Emergency contact card
Special Add-Ons (Optional)
- Prescription medicines
- Inhaler
- Baby care items
- Motion sickness tablets
Step 5: Label Everything Clearly
Label pouches or sections as:
- “Wounds”
- “Medicines”
- “Tools”
- “Emergency”
Tip: Use color coding
- Red → bleeding & wounds
- Blue → medicines
- Green → tools & equipment
This helps even a child or visitor find items quickly.
Smart Tips & Tricks Most People Miss
- Add a mini instruction card (how to clean a wound, how to check temperature)
- Store liquids upright in sealed pouches
- Keep a torch or small flashlight inside
- Check expiry dates every 6 months
- Keep a digital list of contents on your phone
- Don’t overstuff—space = speed
- Train your family where the kit is kept and how it’s arranged
Where Should You Keep the First Aid Kit?
- Home: Kitchen cabinet or hallway (not locked)
- Office: Common area with signage
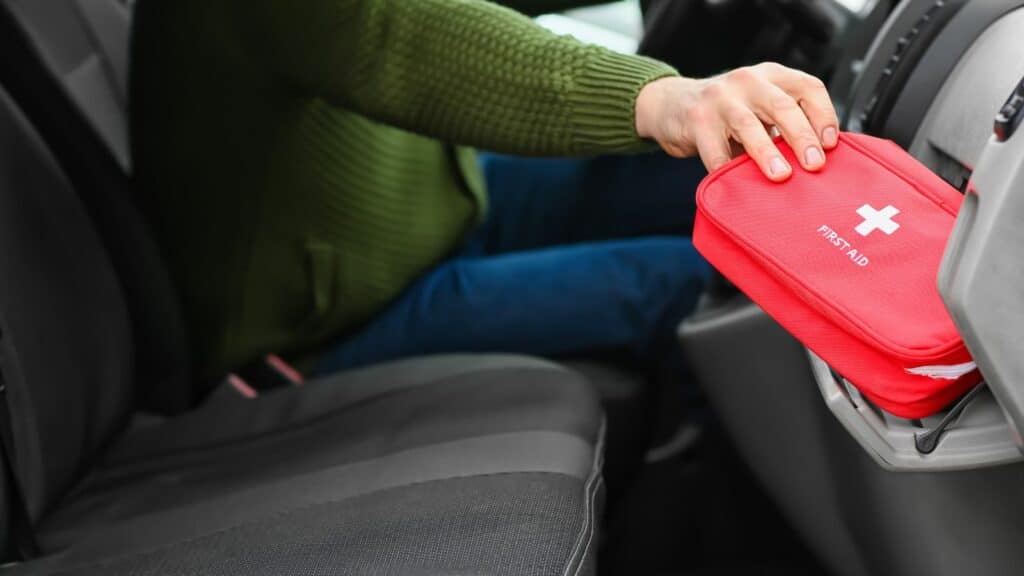
- Car: Glove box or boot side pocket
- Travel: Top compartment of backpack
Golden Rule: Easy to reach, easy to see.
Common Mistakes to Avoid
- Mixing medicines without labels
- Keeping expired tablets
- No gloves or antiseptic
- Storing it where no one remembers
- One kit for everything (home ≠ travel ≠ car)
Final Thoughts
A first aid kit isn’t just about what you have—it’s about how quickly you can use it. A neatly arranged kit reduces confusion, builds confidence, and can genuinely save lives. Spend 30 minutes organizing it today, and you’ll thank yourself later.
Find below the links for individual items and the complete kit for easy purchase.
Affiliate Link -> (We get commission if you use this link to buy the product, so please use this link to buy the product if you decide to do so 🙂 )
| Product name | Pro | Con | Our Rating | Affiliate link |
| Hansaplast Fast Aid Kit | Less Costly,great value for money | It is not amazing but enough at this proice range | 4.5/5 | Buy Now |
